
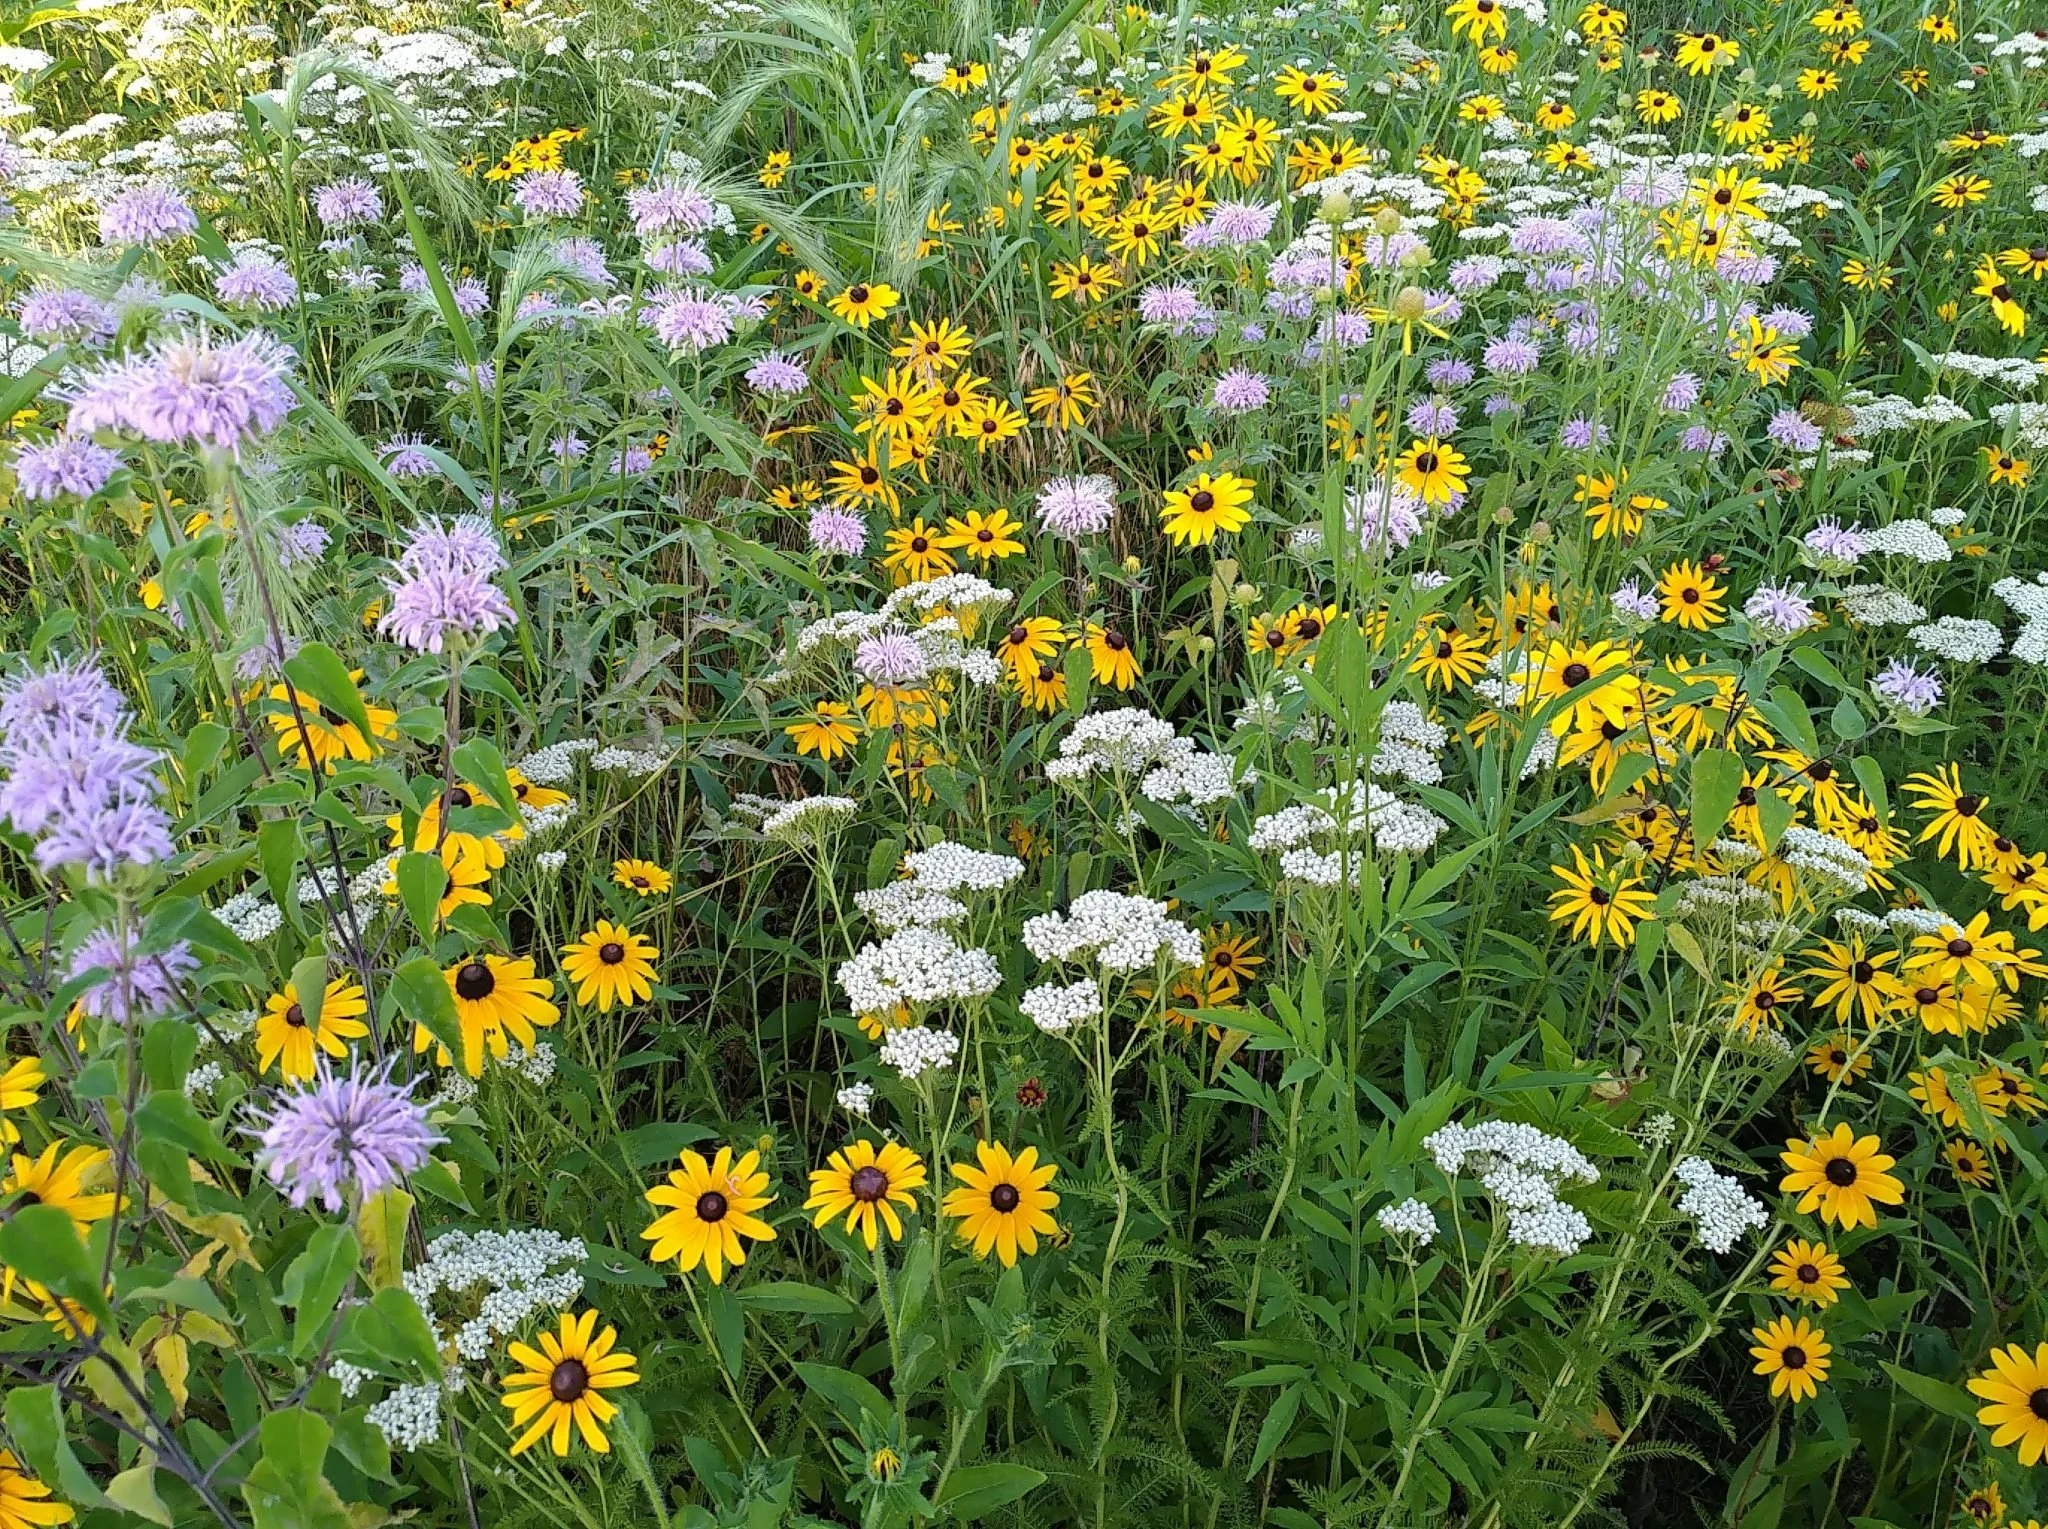
Growing Native Plants from Seed
A Simple Guide to Planting and Germination
Growing native plants from seed is an easy and rewarding way to support pollinators, create wildlife habitat, and bring the beauty of nature into your yard or community.
Many native plants have seeds that require special conditions to germinate. In nature, these conditions occur as seeds experience changing temperatures and seasons. With a little patience and preparation, you can recreate these conditions at home.
What Is Cold Stratification?
Many native wildflower seeds require a period of cold, moist conditions before they will germinate. This process, called cold stratification, helps prevent seeds from sprouting before winter has passed.
There are two simple ways to provide these conditions: planting seeds outdoors in the fall or artificially stratifying them in your refrigerator.
Method 1: Fall Planting (Simplest)
Planting native seeds outdoors in late fall is one of the easiest ways to grow native plants. Nature takes care of the stratification process for you.
Step 1: Choose Your Planting Location
Select a location with suitable sunlight and soil conditions for the species you are planting. Remove existing weeds and vegetation to expose the soil.
Step 2: Prepare the Soil
Lightly rake the soil surface to create a suitable seedbed. Avoid adding fertilizers or rich soil amendments unless needed for the species.
Step 3: Sow Your Seeds
After temperatures have cooled in late fall, scatter seeds evenly over the prepared soil. Most native wildflower seeds should be planted very shallowly. Small seeds often need to remain on the soil surface.
Step 4: Let Nature Do the Work
Leave the seeds outdoors throughout winter. Rain, snow, freezing temperatures, and spring thaw will provide the natural conditions needed for stratification.
Step 5: Watch for Germination
As temperatures warm in spring, keep an eye out for emerging seedlings. Keep the area free of weeds and provide water when needed.
Be patient! Some native seeds may take more than one growing season to germinate.
Method 2: Refrigerator Stratification
If you missed the fall planting season or would like better control of when your seeds germinate, you can simulate winter conditions using your refrigerator. This method allows for you to break germination when it is convenient for you and care for the plants more closely during the seedling stages which can result in increased survivorship. At Au Sable we grow each species in separate containers and up-pot and transplant our plants in stages before planting in the wild.
Step 1: Prepare Your Seeds
Place your seeds in a damp paper towel, coffee filter, or a small amount of moist sand. The material should be damp but not dripping wet. At Au Sable, we mix our seeds in sterile sand and add just enough water for the sand to hold shape (think perfect sandcastle building sand).
Step 2: Place in a Container
Put the seeds and moist material into a labeled, resealable plastic bag or container. Include the plant name and date as well as the stratification code (C30, C60, etc.) and any other relevant details (surface sow).
Step 3: Refrigerate
Place the container in your refrigerator, ideally between 33°F and 40°F. Do not freeze the seeds.
Many native species require approximately 30–60 days of cold stratification, although some need longer or have different requirements. Check the specific instructions for your species. Seeds from Au Sable’s native seed libraries will indicate the proper germination code on the label (C0, C10, C30, etc.) where “C’ stands for cold/moist, and the number indicates the number of days required in those conditions. For example, a germination code of C30, would require 30 days of cold/moist stratification. Or in other words, place your prepared seeds in the fridge for at least 30 days. Germination generally won’t break until the seeds experience warmth. So C30 seeds can stay in the fridge for longer than 30 days.
Step 4: Check Periodically
Check the seeds periodically to make sure they remain moist but not overly wet. If seeds begin sprouting, plant them promptly.
Step 5: Plant Your Seeds
After the recommended stratification period, plant the seeds in pots or outdoors when conditions are appropriate for the species. Keep the soil moist during germination and early growth. If growing in pots or separate containers, you’ll need to give you plants some time before transplanting outdoors. Never transplant a seedling before it has developed its first true leaves or if its roots are still transparent.
Helpful Tips for Success
Know your species. Not all native seeds require cold stratification. Some need other treatments, such as scarification (weakening the seed coat), soaking, or even boiling. There are many great resources to help you understand various germination methods. Seek advice from reputable sources with difficult to germinate species or contact our office.
Don't plant too deeply. Many native seeds need light to germinate and should remain on or near the soil surface.
Keep seeds moist. Avoid allowing newly planted seeds or young seedlings to dry out and be delicate with your application of water.
Be patient. Native plants often grow slowly during their first year while developing strong root systems.
Start small. Even a small native planting can provide valuable habitat for pollinators and other wildlife. You’ll be amazed at the number of pollinators your garden will recruit!
Grow Native. Restore Habitat.
By growing native plants, you're helping create healthier habitats for butterflies, bees, birds, and other wildlife. Whether you're planting a few seeds in your backyard or creating a larger community garden, every native plant makes a difference.
Thank you for participating in Au Sable Institute's Native Seed Lending Library and helping us care for Northern Michigan's natural communities!
Please reach out with any questions (paul.w@ausable.org).